
 I know, I know. Ornament wreaths are EVERYWHERE in blogland. Maybe that’s why I wanted to make one so bad. They’re so pretty!
I won’t go into a full tutorial because there are already a million out there, but just for the record – I used this one.
I (obviously) went with a gold, silver, and red color theme. Honestly, this took me FOREVER. Mainly because I got tired and ache-y (thanks pregnancy) and worked on it over several days weeks. I love how it turned out though! Here’s my quick step by step – and what I would do differently next time.
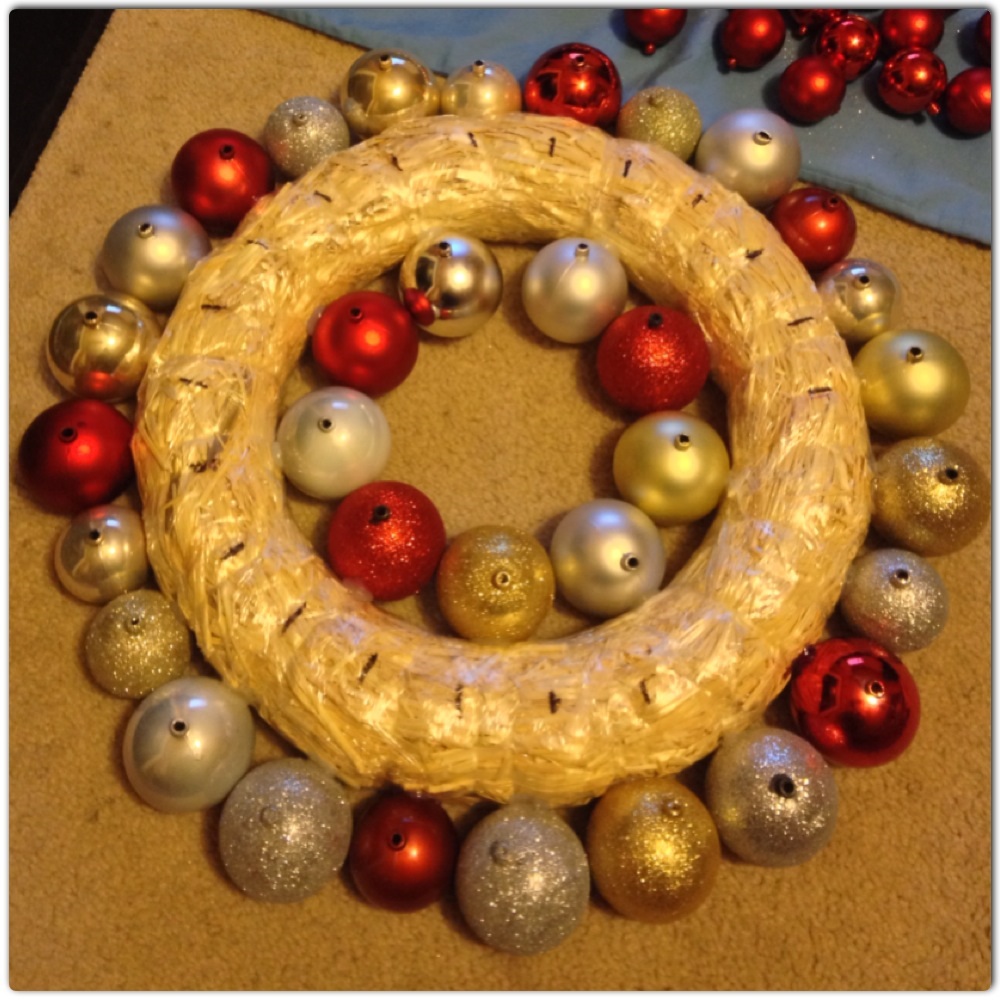
Gather your supplies. I already had the wreath form on hand but you can get the kind I used at Walmart for around $3. (And feel free to use any other kind of wreath form too. My wreath form was pretty thick and I think I ended up having to use a lot more ornaments than “normal”, which brought up the over all cost of my wreath.) I got all of my ornaments at the dollar store. I probably used around 150.
 Take all the tops off the ornaments. (I laid my ornaments down on a pillow case to try to catch all the glitter.)
 I didn’t do this next part but I would HIGHLY recommend it. BEFORE YOU GO ON TO THE NEXT STEP, wrap the wreath form in fabric, ribbon, spray paint in the color scheme you’re using, SOMETHING. I didn’t do anything to mine and am a tiny bit bummed that you can see some of the plain wreath form through the ornaments. Simply covering the wreath form in something similar to your colors/theme will avoid this mishap in the end.
ALSO, I didn’t add anything to hang my wreath with so I ended up having to fish some twine through my ornaments and around the wreath form, which was a pain. Save yourself the trouble and go ahead and add your “hanger” ahead of time.
Okay. moving on.
Start gluing your ornaments around the inside and outside areas (tops up).
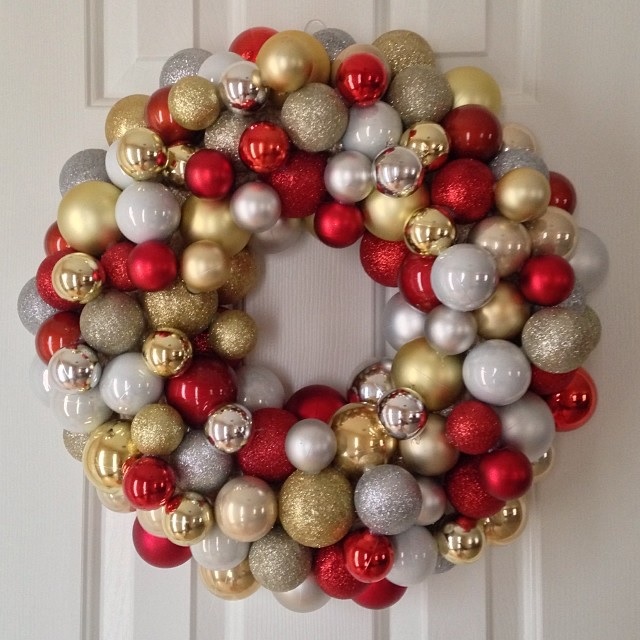
 Then flip it over and start filling in your gaps!
 Eventually… TA-DA!
 Did you make an ornament wreath this year? =]
